So, why the long post? Well, you can try to minimize the look of the partially punched hole. As usual, I try to make this fairly foolproof.
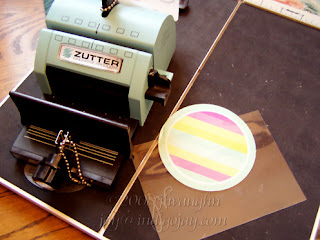
That's the BIA, a piece of transparency, and a coaster.
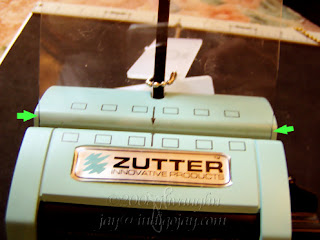 My scrap transparency just happened to be close to the width of the BIA. I marked the edges with black Sharpie so that they showed up better. That's what the arrows are pointing to. I was confident that I could reliably place this in the machine in the same position time and again. If you're not so sure, make yours the exact width of the machine.
Place it all the way in and punch it.
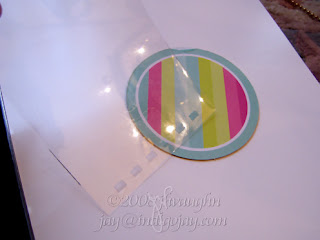
Now I have a template to use with my coaster or with whatever I want to punch.
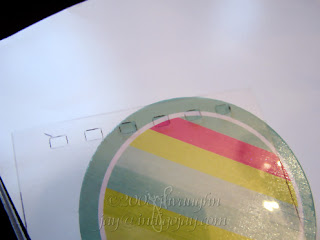
Here you can see that I could punch four holes and not get that partial hole. Those two holes at either end are very close to the edge though....
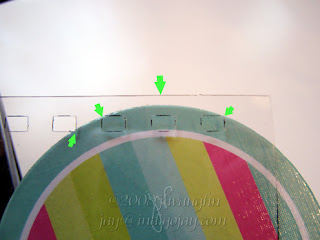
I could try for three holes. The partial hole would be minimized as you can see looking at the arrow at the far left. Two of the holes would be very close to the edge though. I also wanted to point out that this placement would mean not inserting the coaster completely into the BIA to punch it. That's what the biggest arrow at the center is pointing out.
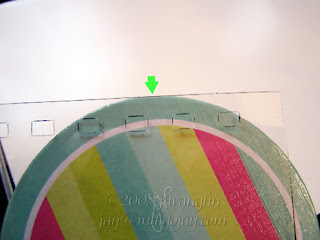
Contrast that with this position of the template where the coaster would be inserted completely.
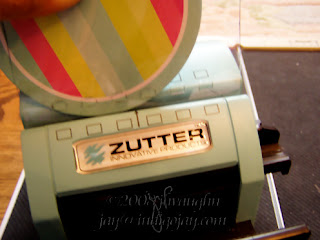
So let's see what happens with punching four holes. I keep hold of the template and the coaster, line up my template with the BIA so that the holes and edges are where they need to be.
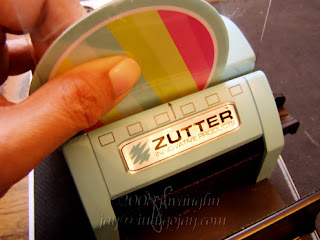
Still holding those two items in place, I insert the transparency to the bottom and then punch. By the way, you could always use a paper clip or binding clip if you don't think that you can hold the transparency and coaster or CD or whatever together and keep them from moving.
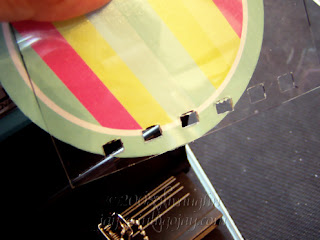
Here's the result. As I'd said, two of those holes were very close to the edge and they did break through.
So, what about three holes instead?
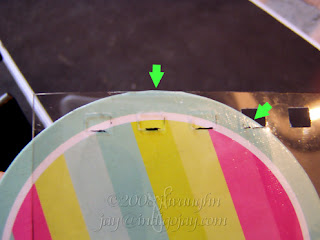
Inserted fully, there would be a fairly big partial cut that you can see indicated by the arrow at the right.
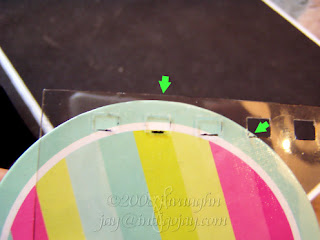
The effect can be minimized by not inserting the coaster completely, but you also need to keep an eye on where the corners of those holes at the ends will land. You can't really get rid of the partial cut and have the holes all be nicely punched.
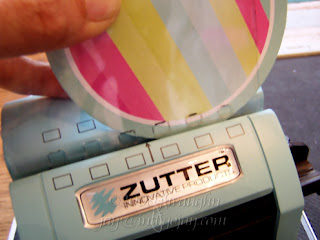
I'm going for the more minimized partial cut, so I hold the coaster and transparency in place and line up the transparency with the BIA opening.
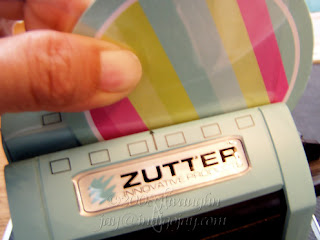
I insert those until I feel the transparency touch the bottom, and then I punch.
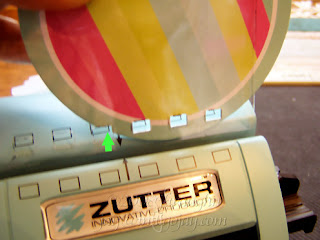
There you can see the partial cut, but my other holes were about as close to the edge as I would want them to be, so that looks like it was the best compromise.
I didn't pull out my coils, but keep in mind that when you finish your project, that partial cut doesn't need to show, or it might fade into the background because of your fabulous embellishing. :-)
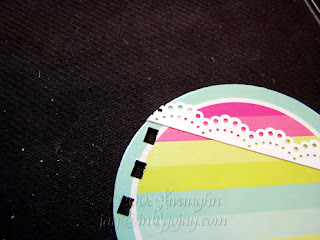
Maybe you'll have a decorative border that will go all the way to that edge.
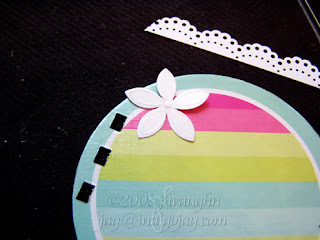
Flowers can be a nice touch, and those petals are great for disguising things.
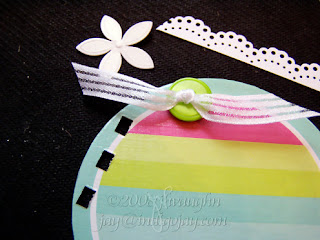
Ribbon can also work and doesn't have to cover the partial cut directly, so can die cuts or lace or anything else that would draw the eye away from that partial cut. If you're one who likes to tie things on the coil, adding something near the top of the coil would certainly help disguise that partial cut. I think this is one of those times where if you can't beat 'em, join 'em. Just think of this as a wonderful opportunity to exercise creative embellishment. :-)

wonderfully creative... thanks for all the tips and different ways to make the extra punch less...
ReplyDeleteThanks so much for this tutorial. I am new to the BIA and this is a BIG help to me. Thanks!!!
ReplyDeleteKathleen
I've just seen this and found your instructions the most clearest ever! Thank you so much, all the way from Finland.
ReplyDelete